

Table of Contents
Old Fashioned Yeast Rolls Recipe: Grandma’s Secret to Soft Rolls
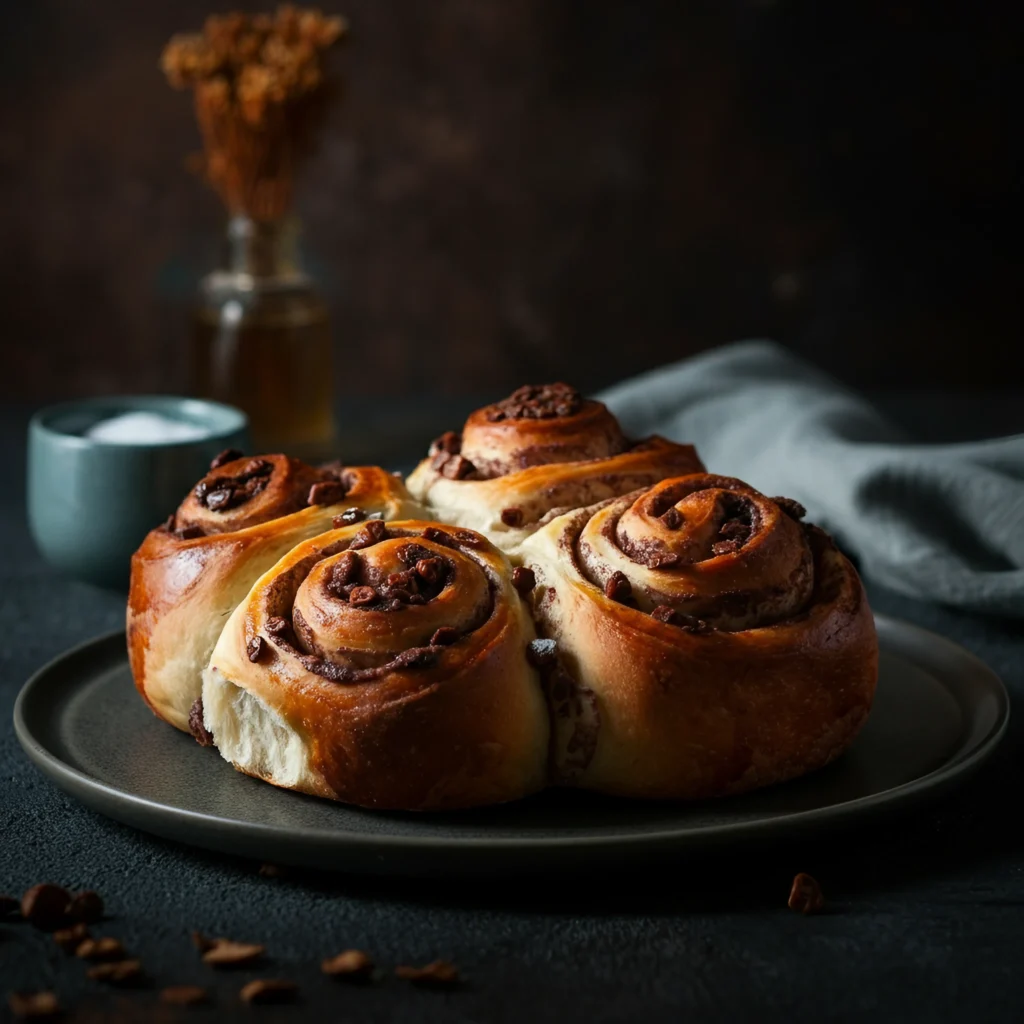
Nothing beats the aroma of freshly baked bread wafting through the kitchen, especially when it’s Grandma’s old-fashioned yeast rolls. There’s something timeless and heartwarming about the soft, pillowy texture of these homemade rolls that take us back to family dinners, holidays, and cherished conversations around the table.
Grandma’s recipes always seem to have a little magic in them. Her yeast rolls are a perfect blend of tradition and comfort—a staple for any meal, whether it’s a special occasion or an ordinary weekday dinner. With this guide, you’ll learn everything you need to know to recreate this classic yeast rolls recipe. From the key ingredients and step-by-step instructions to Grandma’s secret tips, these rolls will become a go-to in your kitchen, ready to make memories and fill hearts with joy.
Get ready to roll up your sleeves as we explore how to craft the soft, fluffy perfection of Grandma’s yeast dinner rolls.
What Are Old-Fashioned Yeast Rolls?
Yeast rolls have been a beloved comfort food for generations, often passed down through handwritten recipes stored in tattered cookbooks. These iconic rolls are celebrated for their irresistibly soft texture, fluffy interior, and golden crust that melts in your mouth with each bite.
Unlike many modern bread recipes, Grandma’s yeast rolls focus on simplicity, patience, and a few quality ingredients. What makes them special? They rely on time-tested techniques and a little TLC to create that perfect balance of sugar, butter, and yeast.
Why do yeast rolls hold such nostalgia? It’s because these rolls aren’t just food—they’re part of family traditions. Whether paired with hearty stews or served at holiday feasts, they’re a timeless classic worth mastering.
Essential Ingredients for Grandma’s Classic Yeast Rolls

Here’s what you’ll need to get started:
- All-Purpose Flour – The backbone of the rolls, giving them structure and fluffiness. You can substitute with gluten-free flour blends if preferred.
- Active Dry Yeast – The key to rising, creating soft and fluffy bread.
- Granulated Sugar – Adds a touch of sweetness while feeding the yeast for a good rise.
- Salt – Enhances the flavor and balances sweetness.
- Butter (Melted) – Adds richness and moisture; opt for unsalted to control the salt levels.
- Milk (Warm) – Makes the dough tender and slightly creamy, binding flavors together.
- Egg – Essential for structure and softness, ensuring the rolls stay moist.
Pro tip: Always choose the freshest ingredients, as this ensures the best flavor and texture for your homemade yeast rolls.
Integrate flavors to suit your dietary needs, such as substituting non-dairy milk for a vegan option or coconut sugar for an earthy sweetness.
Step-by-Step Guide to Grandma’s Secret Recipe
Step 1: Gather Your Ingredients
Before starting, lay out all your ingredients. You’ll need the following measurements:
- 4 cups all-purpose flour
- 2 ¼ teaspoons (1 packet) active dry yeast
- ½ cup granulated sugar
- ½ teaspoon salt
- ½ cup melted butter, plus extra for brushing
- 1 cup warm milk (approximately 110°F)
- 1 large egg
You’ll also need a mixing bowl, spatula, baking sheet, and a rolling pin if desired.
Step 2: Activating the Yeast
Start by warming your milk to around 110°F—lukewarm, but not hot. Add sugar to the milk, then sprinkle in the yeast. Give it a gentle stir and allow it to sit for 5–10 minutes. The mixture should foam and bubble, indicating the yeast is alive and active.
Troubleshooting Tip: If there’s no foaming, your yeast may be expired, or the milk might be too hot or too cold. Restart with fresh ingredients.
Step 3: Mixing the Dough
Combine the yeast mixture with melted butter and the egg in a large bowl. Gradually add the flour and salt, mixing until a sticky dough forms. If the dough feels too wet, add flour one tablespoon at a time until it comes together.
Grandma’s Tip: The dough should be soft but not overly sticky—it’s all about finding the right balance.
Step 4: Kneading
Transfer the dough to a floured surface and knead for 8–10 minutes. Use the heels of your hands to fold, press, and stretch the dough. When it’s soft, smooth, and elastic, it’s ready.
Step 5: Proofing and Rising
Place the dough in a lightly greased bowl, cover it with a kitchen towel, and leave it in a warm spot to rise. It should double in size, which typically takes about 1–2 hours.
Speed-Up Trick: If you’re short on time, place the dough in an oven that’s been warmed to 100°F and then turned off.
Step 6: Shaping the Rolls
Punch the dough down to remove air bubbles, then divide it into equal portions. Shape each portion into a smooth ball by rolling it between your palms. Arrange the rolls on a baking sheet, leaving space between them for rising.
Step 7: Baking to Golden Perfection
Preheat your oven to 375°F. Brush the tops of the rolls with melted butter, then bake for 15–20 minutes until golden brown. When they’re done, brush them again with melted butter for that glossy, delicious finish.
Tips for Perfectly Soft and Fluffy Yeast Rolls

- Find the right rising environment – Ideal proofing temperatures are 75–85°F. Too cold, and the dough takes longer to rise; too warm, and the flavor suffers.
- Be patient – Allow the dough to fully double in size during both rises. Dense rolls are often the result of under-proofing.
- Cool gently – Avoid covering rolls while they’re still scorching hot to maintain their fluffiness.
Master these tips, and you’ll bake soft homemade yeast rolls that rival Grandma’s originals.
Pairing and Serving Suggestions for Old Fashioned Yeast Rolls Recipe
The magic of an old fashioned yeast rolls recipe lies not only in its irresistible flavor but in its versatility. These timeless yeast rolls complement a variety of meals perfectly, enhancing any dining experience. Here are some delicious pairing and serving ideas to make the most of your old fashioned yeast rolls recipe:
- Pair these fluffy rolls with a steaming bowl of creamy tomato basil soup or hearty beef stew for a comforting and wholesome meal.
- Serve them alongside Thanksgiving turkey, glazed ham, or roasted chicken for festive gatherings that feel extra special.
- For a sweet twist, add a dollop of homemade cinnamon butter and turn these yeast rolls into a delightful breakfast treat.
- Got leftovers? Repurpose your old fashioned yeast rolls recipe into soft slider buns, perfect for pulled pork or chicken sandwiches.
The possibilities are endless—it’s no surprise that an old fashioned yeast rolls recipe has become a timeless favorite that turns every meal into a memory.
A Recipe That Feels Like Home
Baking an old fashioned yeast rolls recipe is more than following steps; it’s about recreating moments steeped in love, warmth, and tradition. For me, making these rolls with Grandma wasn’t just learning how to bake; it was about breathing in the comforting aroma of bread as her laughter filled the kitchen.
Every bite of this old fashioned yeast rolls recipe brings that nostalgia right back—a connection to family dinners, cherished traditions, and the joy of togetherness. Now, it’s your turn to make this recipe part of your family’s story. Bake a batch of these golden yeast rolls, and you’ll bring a bit of comfort and home into every bite.
Bake Your Legacy
Grandma’s old fashioned yeast rolls recipe is more than just a way to bake bread; it’s a way to create something meaningful. This recipe is your chance to weave tradition into your family’s kitchen. Each soft, golden roll is a link to the past and a gift for the future.
What are you waiting for? Grab the ingredients for the old fashioned yeast rolls recipe and experience the joy of baking these beloved rolls. Be sure to share your baking results in the comments, and visit our blog for even more nostalgic recipes filled with warmth, comfort, and love.
FAQ for Old Fashioned Yeast Rolls Recipe
How do I store leftover yeast rolls?
To keep your old fashioned yeast rolls soft and fresh, place them in an airtight container at room temperature for up to 2 days. Want to store them longer? Freeze your rolls in a sealed bag or container for up to 3 months. Heat them in the oven for that just-baked taste again.
Can I prepare the dough in advance?
Yes! One of the best things about this old fashioned yeast rolls recipe is its flexibility. You can prepare the dough and complete the first rise, then shape the rolls and cover them tightly. Place them in the fridge overnight, and when you’re ready to bake, bring them to room temperature, allow them to rise again, and pop them in the oven.
Can I use whole wheat flour instead of all-purpose flour?
Definitely! For a heartier twist on the old fashioned yeast rolls recipe, substitute part of the all-purpose flour with whole wheat. Keep in mind this adjustment may create a slightly denser texture, but the delicious flavor is still there.
What if I don’t have a stand mixer?
No stand mixer? No problem! You can knead the dough by hand with this old fashioned yeast rolls recipe. Simply use a lightly floured surface, and while it might need a bit more effort, hand-kneading allows you to connect to the baking process and makes your rolls even more special.
Why didn’t my dough rise properly?
If your dough didn’t rise, the culprit could be inactive yeast. Always check the freshness of your yeast, and ensure your water is about 110°F (43°C) to activate it. Water that’s too cold or too hot can prevent the yeast from working and affect the results of your old fashioned yeast rolls recipe.
This old fashioned yeast rolls recipe is your key to creating bread that not only nourishes but also tells a story. Happy baking!
🍽️ Tell us how it turned out—we’re all ears (and taste buds)! 😋✨
There are no reviews yet. Be the first one to write one.